Showing posts with label cheap. Show all posts

Friday, July 27, 2012

Bean Bags

Hi friends!

So, the award for most unoriginal blog post goes to me today. These weren't my idea. Not even a little bit. However, I believe they're a classic toy, and classics should be shared!


This is a perfect project if you are a new sewer. Straight seams, minimal cutting, instant gratification! This is totally a naptime project. Or, in my case, a PopPop took the tiny child to Home Depot and Steak n Shake project. Ha!


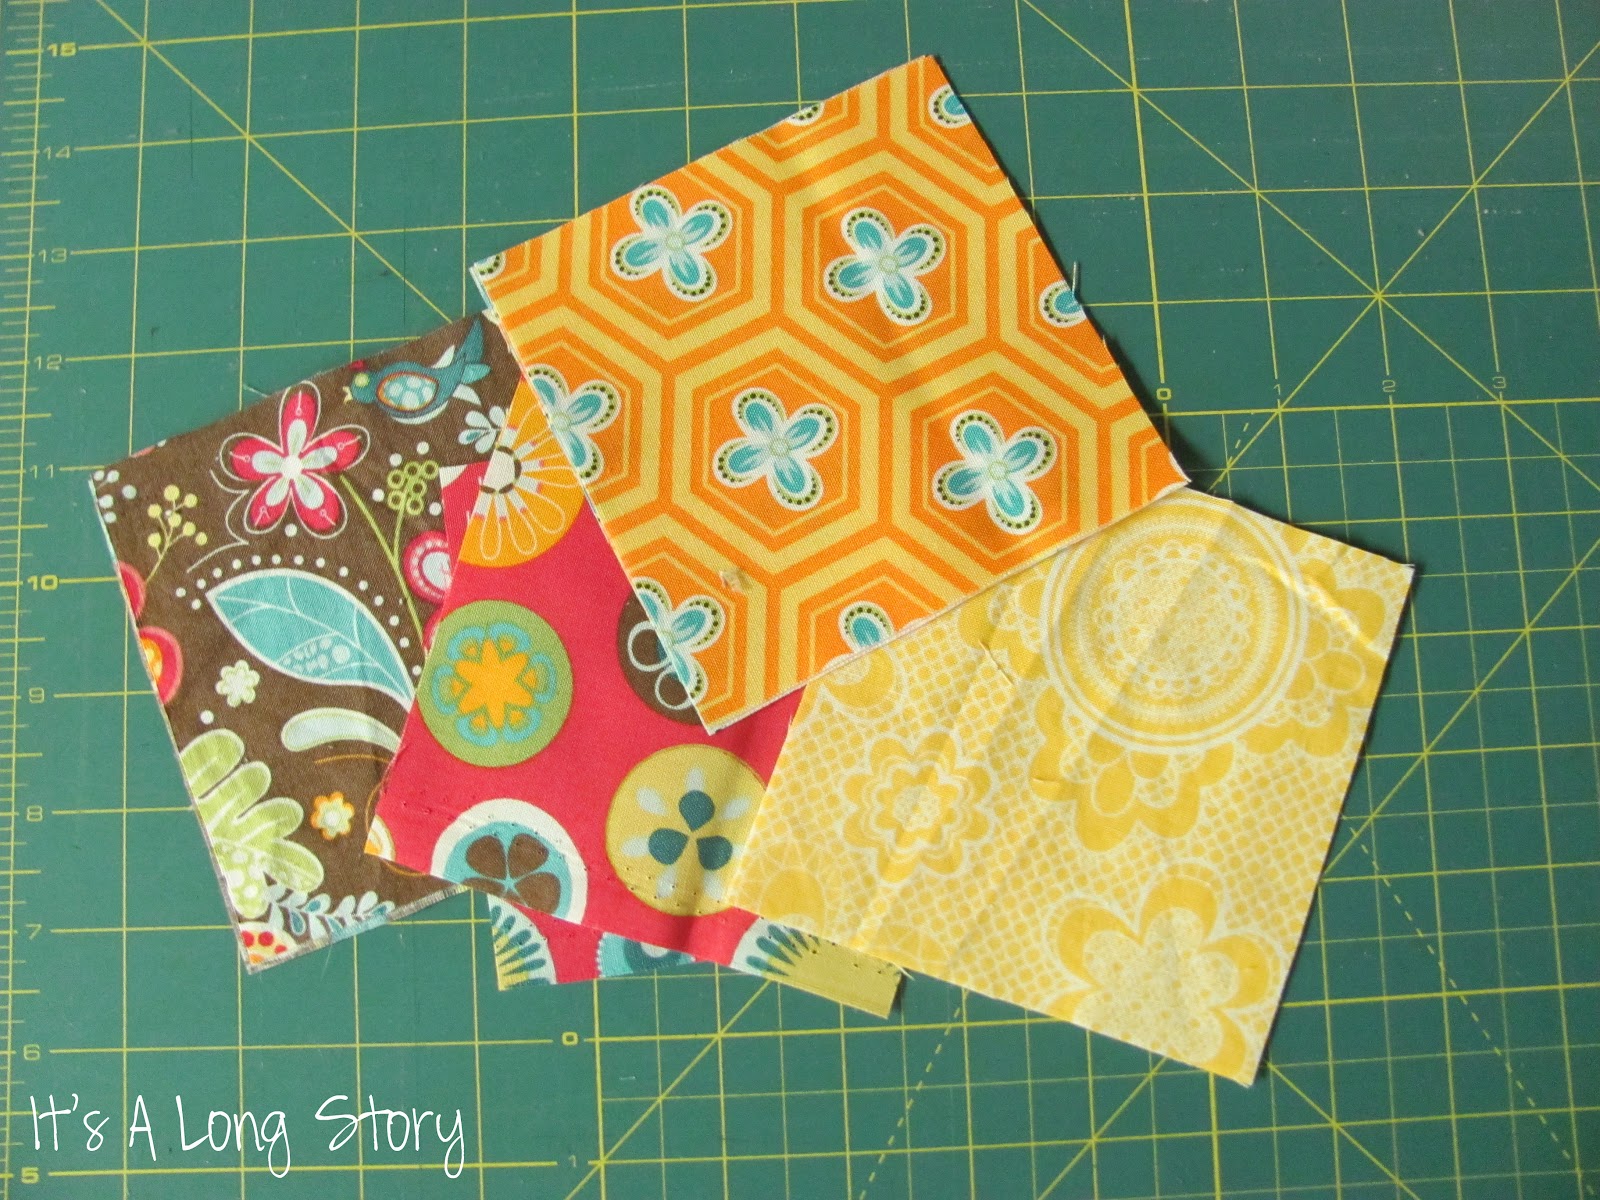
I had some leftover fat quarters from a project. I loved the patterns and colors, but didn't have enough of any of them to make anything substantial. Until I remembered bean bags! Woohoo for stash busting!


These could not be any easier. You probably don't even need a tutorial but, just in case, I'm going to give you one anyway!

I started out by cutting 4.5 x 4.5 inch squares from my fabric.

These then get stitched together, right sides facing, leaving about 2/3 of one side open. This will let you turn your bean bag, and fill it.

Fill up your bags. I used rice, but you can use whatever you have on hand. If you use something food based, like rice or beans, these aren't washable. No one wants sprouting bean bags! However, if you use the plastic pellets you can get at craft stores, then these should go in the wash with no problem.

I filled my bags about 1/2-2/3 full. Any more than that and you won't be able to sew around the edges.

Now you close up the bags. There are a few different ways you can do this. If you want, you can hand stitch the opening closed and be done. I chose to pin it closed, and sew a top stitch seam around the entire bean bag.

I've had enough bean bags bust open on me that I thought this way was better. More seams = more strength. At least in my head.

Aren't they pretty?

At first Abbey looked at them like "what am I supposed to do with these things?", but now she loves them. She loves to "build tall towers" and balance them on different parts of her body. There are all sorts of fun ways to play with bean bags!

Here's a fun one:

Line up a few plates and use them as target practice. Have kids aim for a specific plate, or set them out at different distances. There are a million ways to adjust this game for your kids.

Have fun!

Be blessed!

Heather

I'm linking up. Come play!

Tuesday, December 6, 2011

Deck the Halls!

What fun is Christmas decorating if you don't get the tiny children involved, huh? Last week I decided that a nice paper chain was a perfect project for Abbey. Lots of chances to help, and nothing too complicated. Sounds like a toddler craft dream!

We started out by decorating some paper:
A little marker...

A little glitter...

A little more glitter! Who doesn't love more glitter??

Then we took a nap-time break. Well, Abbey did anyway. I like projects like this that can be split up, because it gives me some good "first a nap, then ______" motivation. It also gave me a chance to do the next step of the project without Abbey losing interest.

While she was sleeping, I cut the paper into strips using my paper cutter (God bless that thing!)
Note #1: Construction paper divides evenly into 1 1/2 inch strips
Note #2: Elmers glue sticks (the purple ones) aren't very good at holding down glitter...just sayin.

After nap time, we started putting our chain together:

Glue...

Pinch...

Glue...pinch...glue...pinch...glue...pinch...

This is a great time to work on things like color recognition, and patterns.

So proud!

It looked a bit lonely at first...

But then Noni got out the Christmas decorations:
Much better! If you can believe it, this is only about a third of what will be going up there! 
Someday I'll have a collection like that...


Friday, November 4, 2011

Wipe-Off Handwriting Pages

Since I'm not teaching anymore, I have this big old bin of books and materials that are just sitting in the crawlspace. I taught in Special Education, and most of my students functioned in about the 2-3 age range, so I decided to haul out the box and see what Abbey might like.
I found quite a few things in there, some of which will be showing up here later, but what I want to share with you today is this:

This book is full of all sorts of pre-handwriting pages. It starts with horizontal and vertical lines, and then moves onto diagonal, wavy, zig zag and letter. Abbey knows all of her letters, but she's not quite ready to start writing them yet. This will help her build those skills.

Now, we have a copier at home, but who wants to waste all that paper and ink? I thought about page protectors, but those are so flimsy. I don't really think they'll stand up to a 2 year old. 
Then I found these at Big Lots:
They're clear plastic folders, and have a tab at the top to keep both sides together. They're sturdier than page protectors, too! Perfect for toddlers!

I printed off and blew up a few of the vertical and horizontal pages, and ended up with this:

The first time we did this, we used a dry erase marker, but we've discovered that crayons work just as well, and wipe off easily. If you don't love the idea of a toddler with a marker, stick with crayons!

Abbey loves it! She'll usually trace a few lines, and then move on to scribbles, but that's fine with me.

Total proud mommy moment: She only had help with one of these lines! On her first try!
Pretty darn good if you ask me! My daughter is a genius!

I think this one is a hit, how about you?


Like it? Share it!

LinkWithin

Related Posts Plugin for WordPress, Blogger...