Hi friends!
I totally can't take credit for today's post. It's all my Mother-In-Law. She taught me how to make it, and I think it's too good not to share!
This stuff is seriously so easy, and so yummy!
Grab your ingredients. You'll need 1 box of dry milk, and a container of your chocolate milk mix of choice. I went with Ovaltine. Those vitamins and minerals make it better...right? Yeah, we'll go with that.
Pour both ingredients into your container of choice. Shake. A lot.
Spoon as much or as little as you want into a mug, mix with boiling water. Enjoy with pumpkin doughnuts.
See? I told you it was easy!
We're pretty well set for Hot Cocoa for a while now. What I love about this mix is that it is totally personalizable (??) and not super sweet. If you like more chocolate, add more! Want it sweeter? Add some powdered sugar to the mix. So simple to tweak.
Happy sipping!
Be blessed!
Heather
Showing posts with label affordable. Show all posts
Friday, September 28, 2012
Friday, July 27, 2012
Bean Bags
Hi friends!
So, the award for most unoriginal blog post goes to me today. These weren't my idea. Not even a little bit. However, I believe they're a classic toy, and classics should be shared!
This is a perfect project if you are a new sewer. Straight seams, minimal cutting, instant gratification! This is totally a naptime project. Or, in my case, a PopPop took the tiny child to Home Depot and Steak n Shake project. Ha!
I had some leftover fat quarters from a project. I loved the patterns and colors, but didn't have enough of any of them to make anything substantial. Until I remembered bean bags! Woohoo for stash busting!
These could not be any easier. You probably don't even need a tutorial but, just in case, I'm going to give you one anyway!
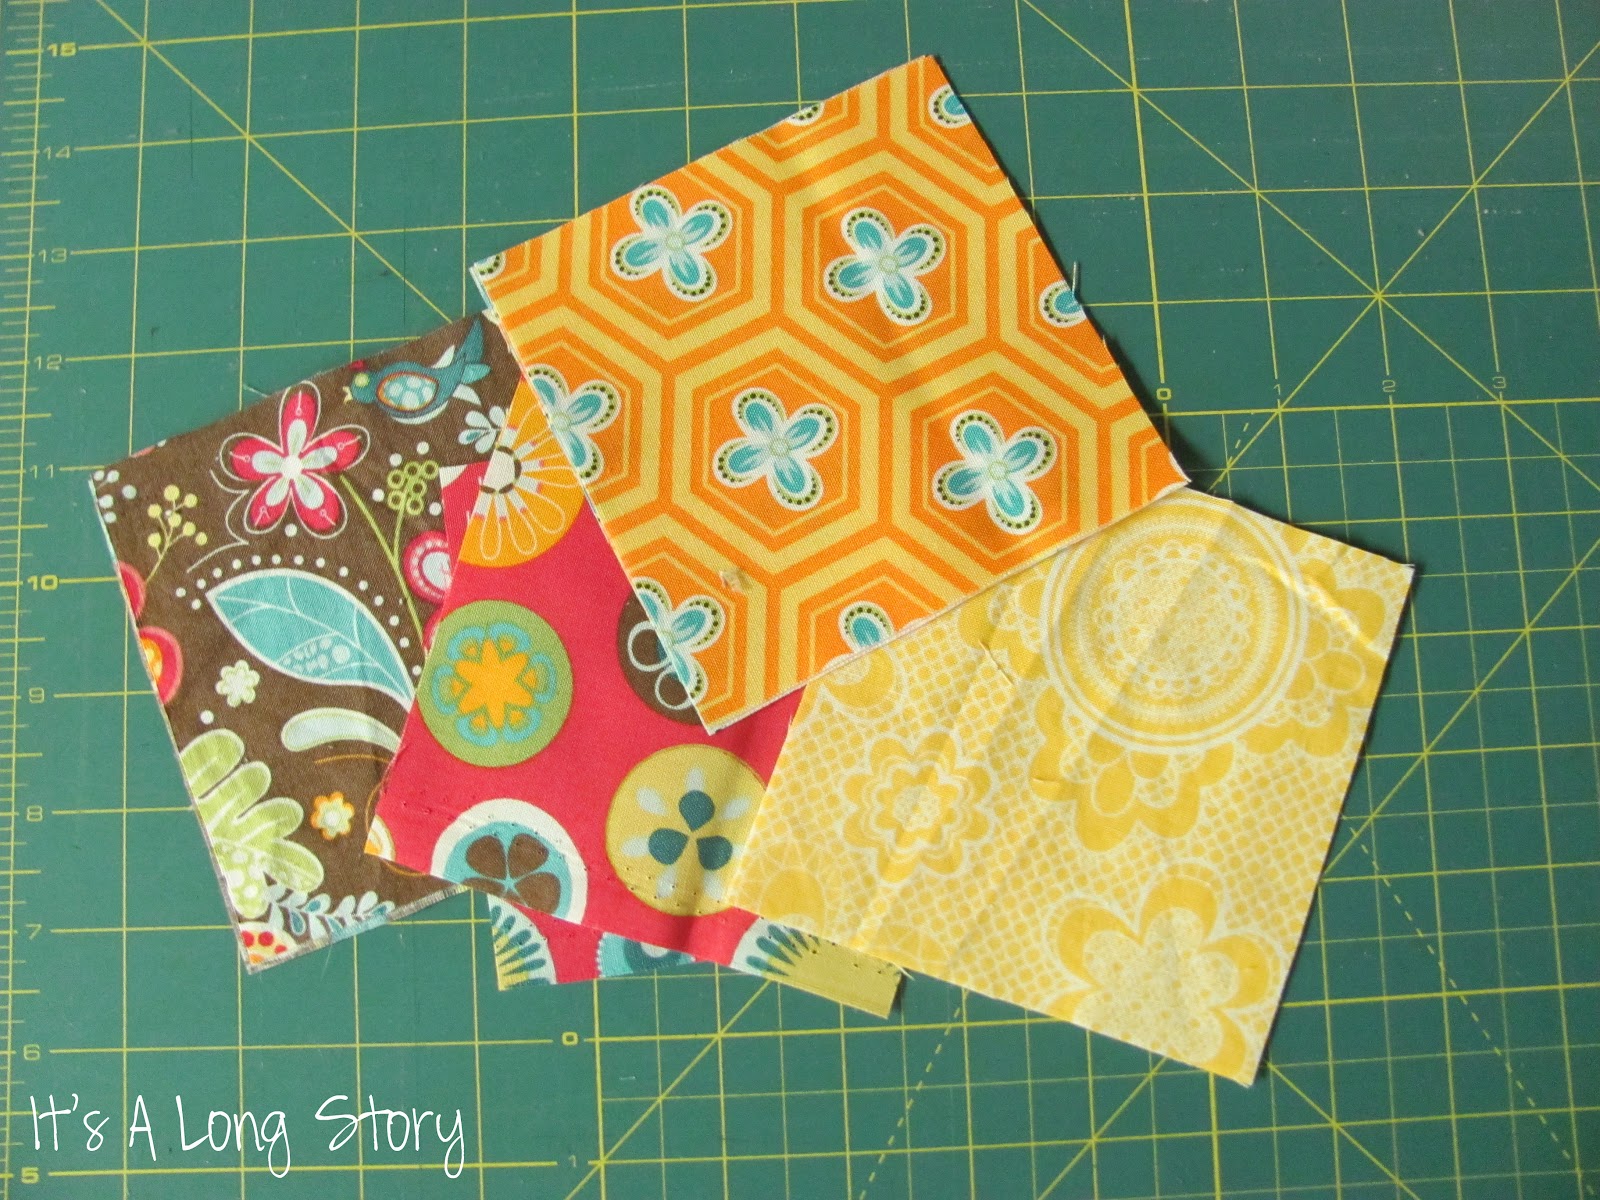
I started out by cutting 4.5 x 4.5 inch squares from my fabric.
These then get stitched together, right sides facing, leaving about 2/3 of one side open. This will let you turn your bean bag, and fill it.
Fill up your bags. I used rice, but you can use whatever you have on hand. If you use something food based, like rice or beans, these aren't washable. No one wants sprouting bean bags! However, if you use the plastic pellets you can get at craft stores, then these should go in the wash with no problem.
I've had enough bean bags bust open on me that I thought this way was better. More seams = more strength. At least in my head.
Aren't they pretty?
At first Abbey looked at them like "what am I supposed to do with these things?", but now she loves them. She loves to "build tall towers" and balance them on different parts of her body. There are all sorts of fun ways to play with bean bags!
Here's a fun one:
Line up a few plates and use them as target practice. Have kids aim for a specific plate, or set them out at different distances. There are a million ways to adjust this game for your kids.
Have fun!
Be blessed!
Heather
I'm linking up. Come play!
So, the award for most unoriginal blog post goes to me today. These weren't my idea. Not even a little bit. However, I believe they're a classic toy, and classics should be shared!
This is a perfect project if you are a new sewer. Straight seams, minimal cutting, instant gratification! This is totally a naptime project. Or, in my case, a PopPop took the tiny child to Home Depot and Steak n Shake project. Ha!
I had some leftover fat quarters from a project. I loved the patterns and colors, but didn't have enough of any of them to make anything substantial. Until I remembered bean bags! Woohoo for stash busting!
These could not be any easier. You probably don't even need a tutorial but, just in case, I'm going to give you one anyway!
I started out by cutting 4.5 x 4.5 inch squares from my fabric.
These then get stitched together, right sides facing, leaving about 2/3 of one side open. This will let you turn your bean bag, and fill it.
Fill up your bags. I used rice, but you can use whatever you have on hand. If you use something food based, like rice or beans, these aren't washable. No one wants sprouting bean bags! However, if you use the plastic pellets you can get at craft stores, then these should go in the wash with no problem.
I filled my bags about 1/2-2/3 full. Any more than that and you won't be able to sew around the edges.
Now you close up the bags. There are a few different ways you can do this. If you want, you can hand stitch the opening closed and be done. I chose to pin it closed, and sew a top stitch seam around the entire bean bag.
Aren't they pretty?
At first Abbey looked at them like "what am I supposed to do with these things?", but now she loves them. She loves to "build tall towers" and balance them on different parts of her body. There are all sorts of fun ways to play with bean bags!
Here's a fun one:
Line up a few plates and use them as target practice. Have kids aim for a specific plate, or set them out at different distances. There are a million ways to adjust this game for your kids.
Have fun!
Be blessed!
Heather
I'm linking up. Come play!
Tuesday, January 31, 2012
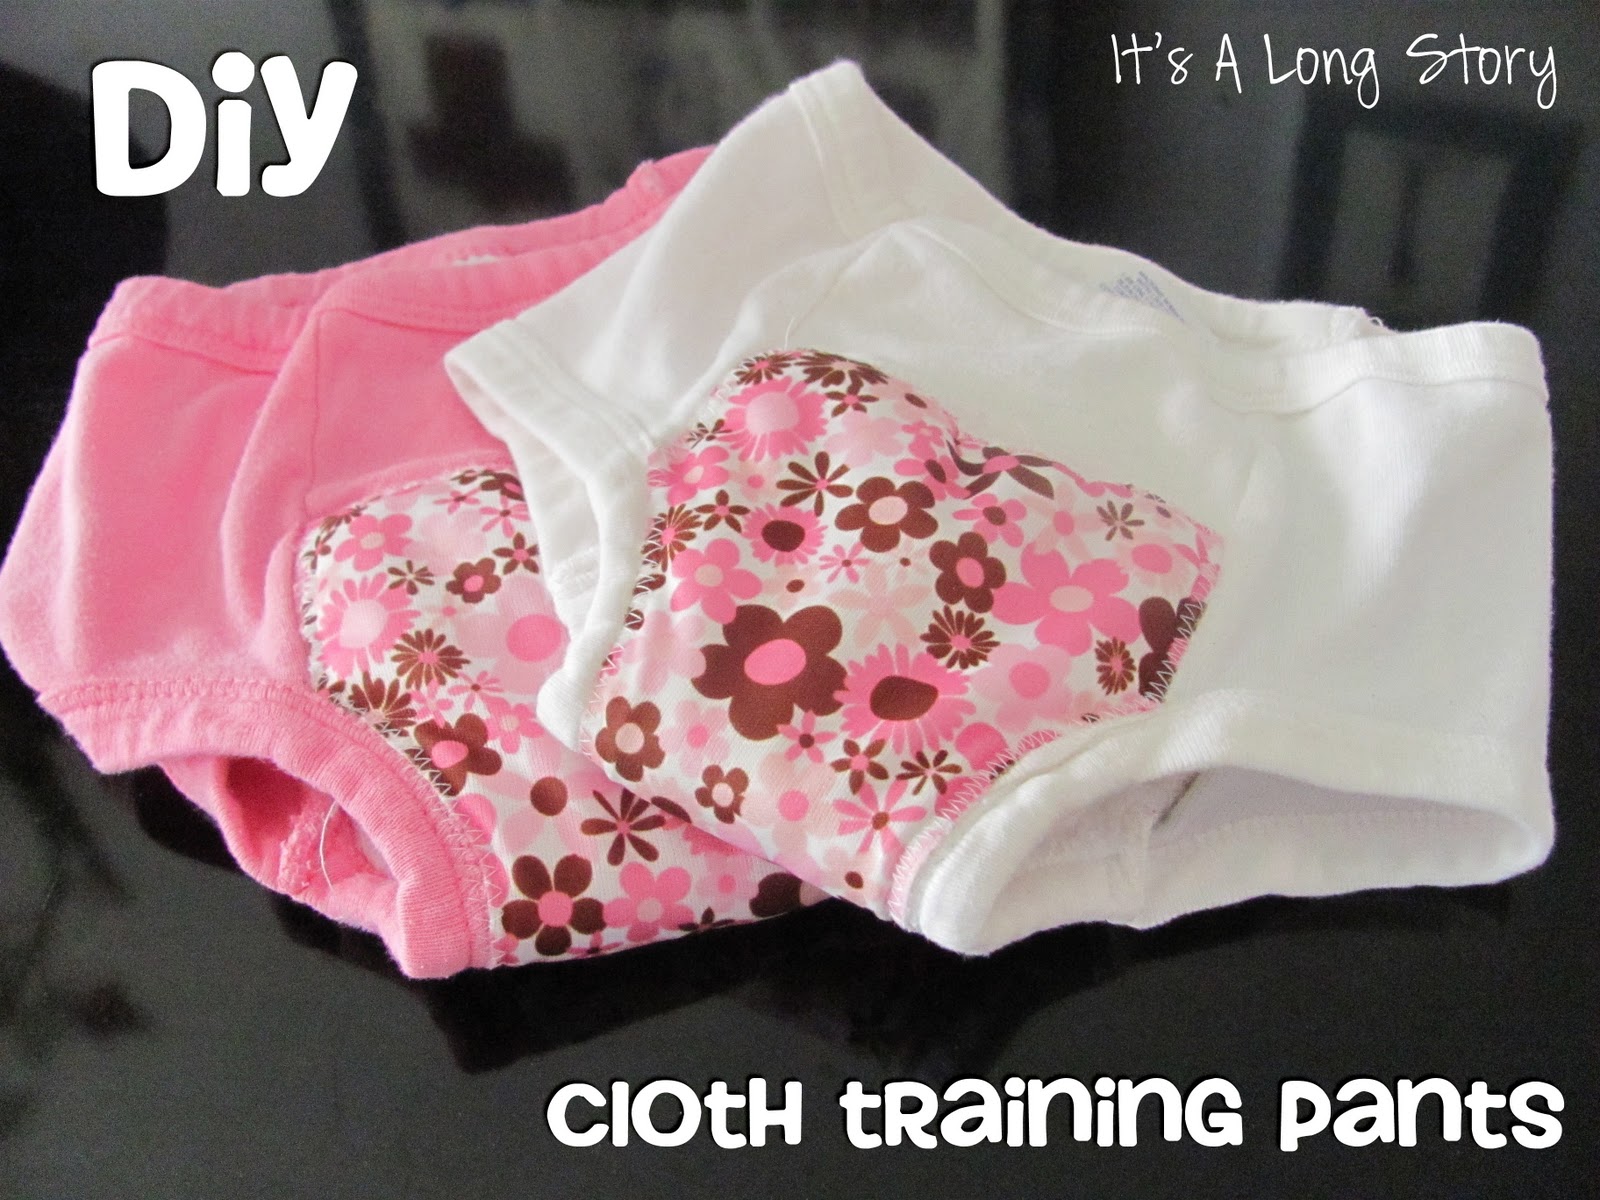
DIY cloth training pants!
This post contains affiliate links. Thank you for your support!
**update: These cloth training pants are now available for purchase at my shop www.etsy.com/shop/theflannellamb
First of all, I have an important announcement: Abbey slept in big girl pants all night last night!! Yaaayyyy!!!
**update: These cloth training pants are now available for purchase at my shop www.etsy.com/shop/theflannellamb
First of all, I have an important announcement: Abbey slept in big girl pants all night last night!! Yaaayyyy!!!
She slept in these:
Subscribe to:
Posts (Atom)